
A rotation is a pattern of shifts that occur over a certain number of days or weeks. They can be effective tools for scheduling employees over larger time frames or for employees who consistently work the same days, dates, or times.
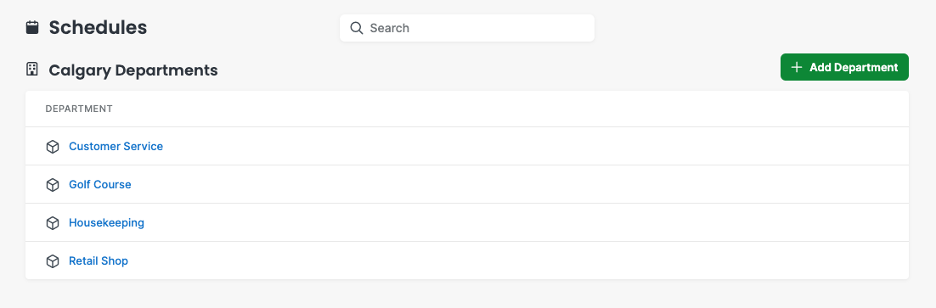
Rotations are made from the Department Profile. To get here, click the Schedules link in the top navigation bar.

Select the Department you would like to add a rotation to, by clicking that Department's name.
Click on Department Settings on the left side navigation bar.
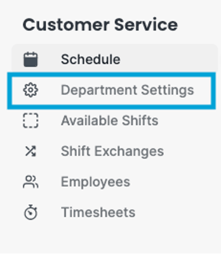
Click on the Rotations tab.

Click the green Add Rotation button at the top right corner.

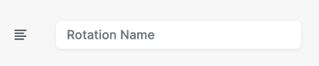
Enter the Rotation Name. The rotation name should be short and remind you of the structure of the rotation, when you are adding it to an employees schedule. Some companies may choose to name the rotation after the individual(s) that will be working this rotation.
Enter the Rotation Length and then select either Days or Weeks. The rotation length is the length of time before the rotation repeats itself. For example, you could have a 1 week rotation that would repeat itself every 7 days. This is an effective way of scheduling someone to work specific days of the week, every week. Or you could have a 4 week rotation that would repeat itself after 28 days.

Enter a Rotation Description which can be used to help identify and describe how a rotation is composed. This is an optional field that can be used for any notes that should accompany this rotation.

Click the Generate button.
You will now see a schedule of blank boxes that represent the days/weeks in your rotation. You must have previously created shift templates for a department before you are able to create rotations.
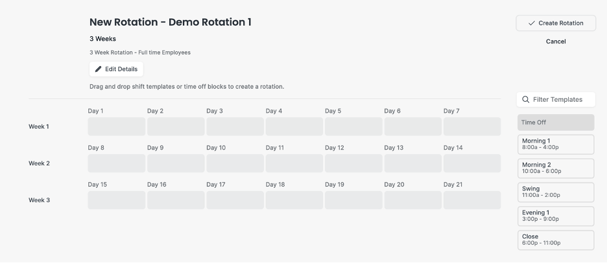
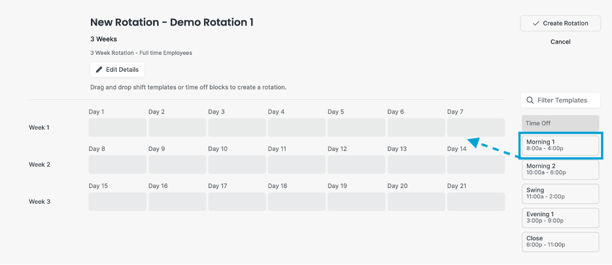
Drag Shift Templates onto the days of the rotation that the employee(s) will be working. We recommend that you use Day 1 to represent the first day of your schedule week (Ex. Sunday or Monday).
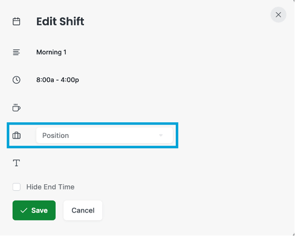
Once a shift has been dropped onto the rotation schedule, the Position dropdown option will appear. Select the position that corresponds with this shift in the rotation.
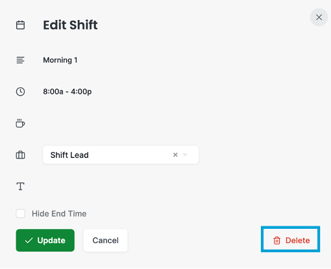
Days within the rotation can be left blank if there is no shift scheduled for that day. You can also drag Time Off onto the rotation. If you make a mistake and drag a shift type on to the wrong day or assign the wrong position, click the shift and Select Delete in the bottom right of the model.
After you have created the desired rotation, click the Create Rotation button to save the rotation.
At this time, the above article is for beta users only. To learn more about our beta program, please email support@makeshift.ca